From the previous post… I finally could use EC2 terminal. But I hadn’t fixed the server yet!
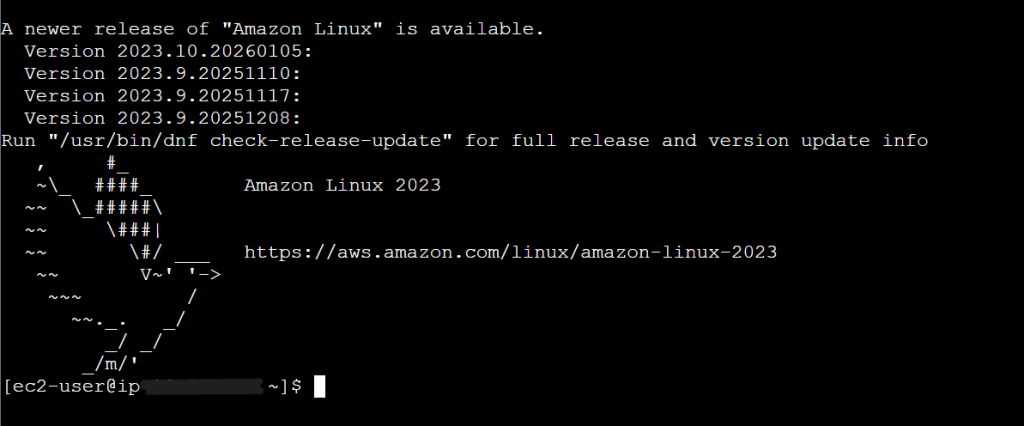
I entered the terminal via Port 22.
Step 3: Reviving the Services
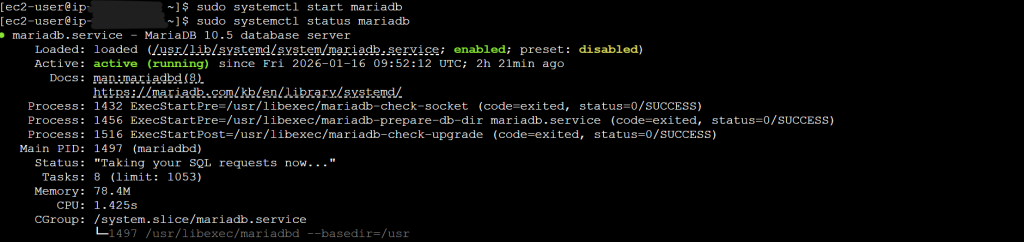
Once I was inside the terminal, I realised my web server (Nginx) and Database (MariaDB) were both inactive.
Following command:
- sudo systemctl start mariadb -> Bring the DB back online
- sudo systemctl status mariadb -> Check the DB status
- sudo systemctl start nginx -> Restart the web server
- sudo systemctl status nginx -> Check the web server
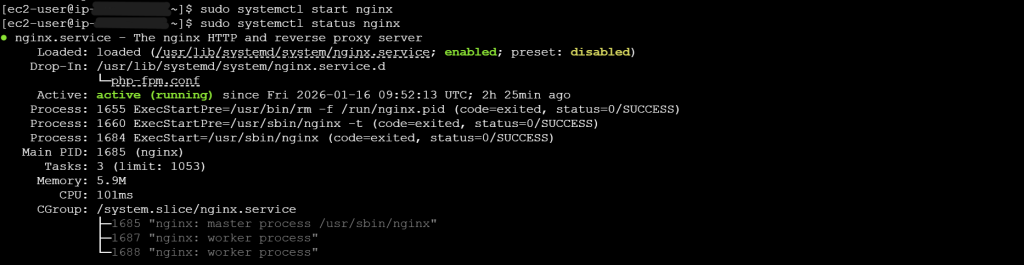
Now both are active.
Step 4: Preventing Future Crashes with Swap Memory
To prevent the server from crashing again during the next attack, I created Swap Memory. This uses a portion of the hard drive as virtual RAM. Why it’s essential because it gives the server a buffer when the 1GB RAM is exhausted.
Following command and technical breakdown:
sudo dd if=/dev/zero of=/swapfile bs=128M count=16
| sudo | Runs with admin privileges |
| dd | Powerful utility for copying and converting files |
| if=/dev/zero | Input File. Tells the system to read a stream of null data to create a clean, empty file. |
| of=/swapfile | Output file. Create a file named “swapfile” in the root dir of your server. |
| bs=128M | Block Size. Sets the size of each chunk being written to 128MB. |
| count=16 | Repeat 16 times this job. |
The Result: 128MB x 16 = 2GB
By running this, I created a solid 2GB file on my disk. This acts as a Safety Net. When my physical 1GB RAM gets full because of bot attacks or heavy traffic, the server uses this 2GB space on the hard drive to keep the system running instead of shutting down.
For the swap file to actually work, these commands must be followed.
- sudo chmod 600 /swapfile -> Sets read only for admin
- sudo mkswap /swapfile -> Formats this file as swap space
- sudo swapon /swapfile -> Starts using swap now
Step 5: Updating DNS and A Record
After restarting the instance, I realised my Public IP address changed. My domain was still pointing to the old and dead one. So I updated the A Record in DNS settings of my domain provider to the new Public IP.
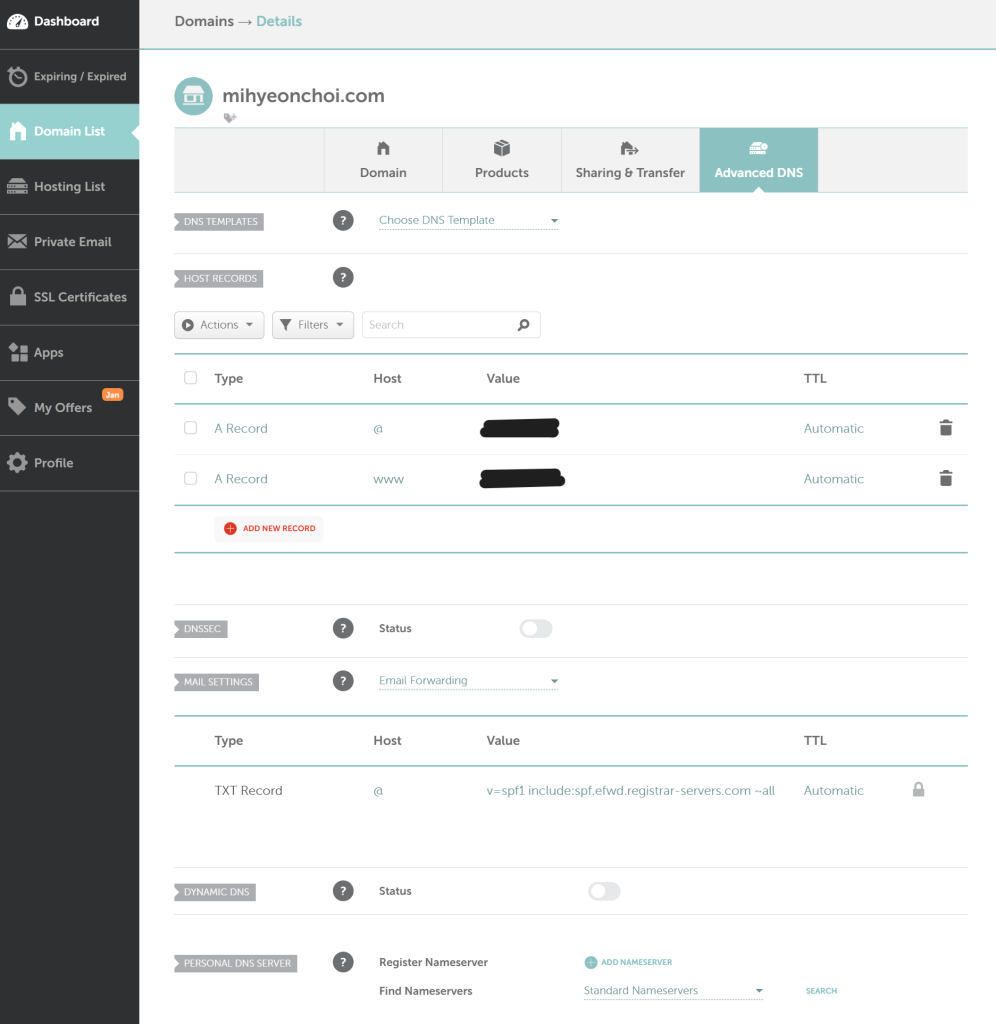
I am using Namecheap domain provider. Then finally the server went back and I can access to my website.
Step 6: Edit SSH Source
Since I use EC2 terminal, I initially had to set the SSH source IP to ‘Anywhere’. This is quite risky as it means anyone could potentially attempt to access my admin terminal via Port 22. To secure my server, I tried changing the setting from Anywhere-IPv4 to My IP.
However, after this change, I lost access to the EC2 terminal again. I suspect this is because my desktop uses a dynamic IP or the IP recognised by AWS doesn’t match my actual public IP due to network configurations. I need to investigate this further to find a permanent, secure solution.
Conclusion
It was a stressful day, but I learned so much about AWS infrastructure, DNS propagation, and server hardening. If your WordPress site is down, don’t panic, check your security groups, look at your RAM, and keep pushing!
Things to do:
- Study about bot attack (not script injection)
- Fix SSH source problem